BIGGEST VISH!

Early 2020. You all remember the hype. Zombie Apocalypse? Work shut-down? Who knew what was coming. We were insanely quiet in the factory, to the point of asking each other, “Well, what do we do now?!” Cue myself instantly thinking of what new board I could have Hutcho shape me, without the stress of pushing other people further down the queue.
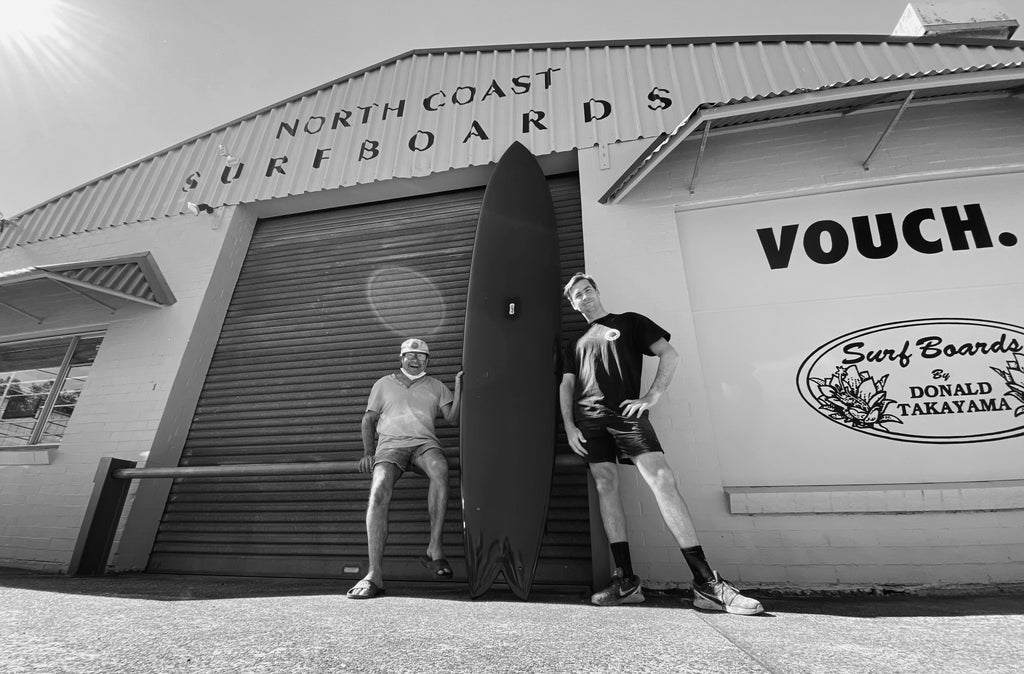
We had a heap of excess EPS SUP blanks in the roof, from the days before most SUP’s were imported and you had to figure out widths and planshapes for yourself. You can see one of them next to Hutcho in the pic above, the rockers are already hot wired in and we glue the stringers in ourselves. So naturally my mind wandered to maybe doing a surfing version of a SUP VISH. Touch narrower than your standard SUP, but still ridiculously wide to cater for the 12 foot length, 12’3″ in fact as that’s what the EPS foam was cut to. I wanted maximum board. Maximum float and wave count.
Watching Hutcho walk around the blank while he was planing it to thickness was almost comical, spewing I didn’t actually get any footage of it, it was almost as if the dude was going on a hike. A lot of laps around the room, pacing, up and down. Once thickness critical mass was reached, I think we ended up settling on 4″ in the guts, it was time to start sifting through templates and figuring out widths and curves. Ultimately using some previous SUP curves, these longer length templates were the only way to achieve proper, flowing curves. Otherwise you’re looking at thousands of different lines on the blank and it’s hard for your eye to see if something is flowing or not. No such issues with Hutcho, after we figured 27″ was a nice width to keep everything looking like it should, we decided on a final nose and tail width to keep it looking like a massive surfboard, not just another Stand Up Paddleboard.

We kept everything the same bottom shape-wise and rail-wise as our standard 9 foot VISH. Rolled Vee in the back end with a rolled/displacement entry, and high rails in the nose through to neutral in the guts and a slightly down rail in the tail with some tucked edge to help keep the EPS rail in the water. I had originally envisioned the board to be done with glass on twin keels, but started to drift towards a quad setup, purely so I could try out some different fins and feel out which amount of lift felt best from different fin configurations.
Shape finished, Hutcho earning himself a beer, we stood back and sussed out his handiwork, realising now we had to laminate the thing. We had a heap of materials left over from making SUP’s years ago, so I settled on bogging the EPS blank first with an epoxy resin and Cabosil mix to seal the foam, this helps make sure all the resin doesn’t just soak into the foam and leave you with totally drained out cloth when you laminate the board. Next up was laying up 2oz innegra cloth, then a 6.5oz carbon cloth, then 2oz silane cloth over the very top to hold everything together. Really took a lot of time and effort to laminate this thing, being 12’3″ long and 27″ wide meant that a lot more resin was needed and the time to properly wet out and laminate everything was beyond my skill set for doing it solo. I had Kai help me laminate both the bottom and the deck, we would work on one side each, just lapping the rails as the epoxy began heating up and getting gluggy. It will rarely “go off” on you as it has such a longer gel and curing time than polyester resin.
Once laminated, it was then time to rough up the surface so then it could be filler-coated with epoxy resin, then sanded. Before filler coating it, I decided to route out and install a SUP handle in the middle of the board, just to make things a lot easier when walking it up the beach. Then came time to sand, which I had Kai do again, as he’s one of the best sanders we’ve ever had working at the factory. A few little air holes needing to be filled after sanding were tended to, and it was ready for it’s final stage; a 2 pack epoxy cleat coat sprayed over the top of everything to give it a nice glossy finish and really let the carbon weave stand out.

Once the clear coat had cured, it was then time to apply the deck grip. There was no way we were putting wax on this thing and letting it melt in the sun each and every time we rode it. Grip made sense, as it would be easy on the knees when knee paddling and also a nice cushioning when going to and from the roof of the car. Applied easily by Hutcho, the board was ready to go, finally! All up, the above process had actually taken place over about 15 months, as once it was shaped we started getting ridiculously busy again in the factory and each and every step to laminate the board took way longer than usual. Having to be constantly moved out of the way and requiring the whole finish coat room to be empty of boards so we could utilise the epoxy resin, it was a true labour of love!


First session at Outside Wategos yielded an amazing session. With 6 foot waves breaking out off The Cape, and a lot of water moving around, this board just ate it up. Paddling was a breeze with the ample amount of foam, you just need to get the thing moving with a little momentum and it almost keeps going by itself. Turns were a bit slower than you would be used to, almost like there was a half second delay between initiating the turn and the board starting to move. Easily adjusted for, the board would catch any set paddled for and loved the big open faces of the waves out off The Cape. I’ve always loved surfing out there and have constantly been searching for the perfect board to handle the amounts of water moving out there. This board did everything required for those waves and loved having some power behind you. It was definitely the board I was envisioning for these types of sessions and has had many a memorable session after this one…
Thanks for reading!